
Map Settings
Introduction
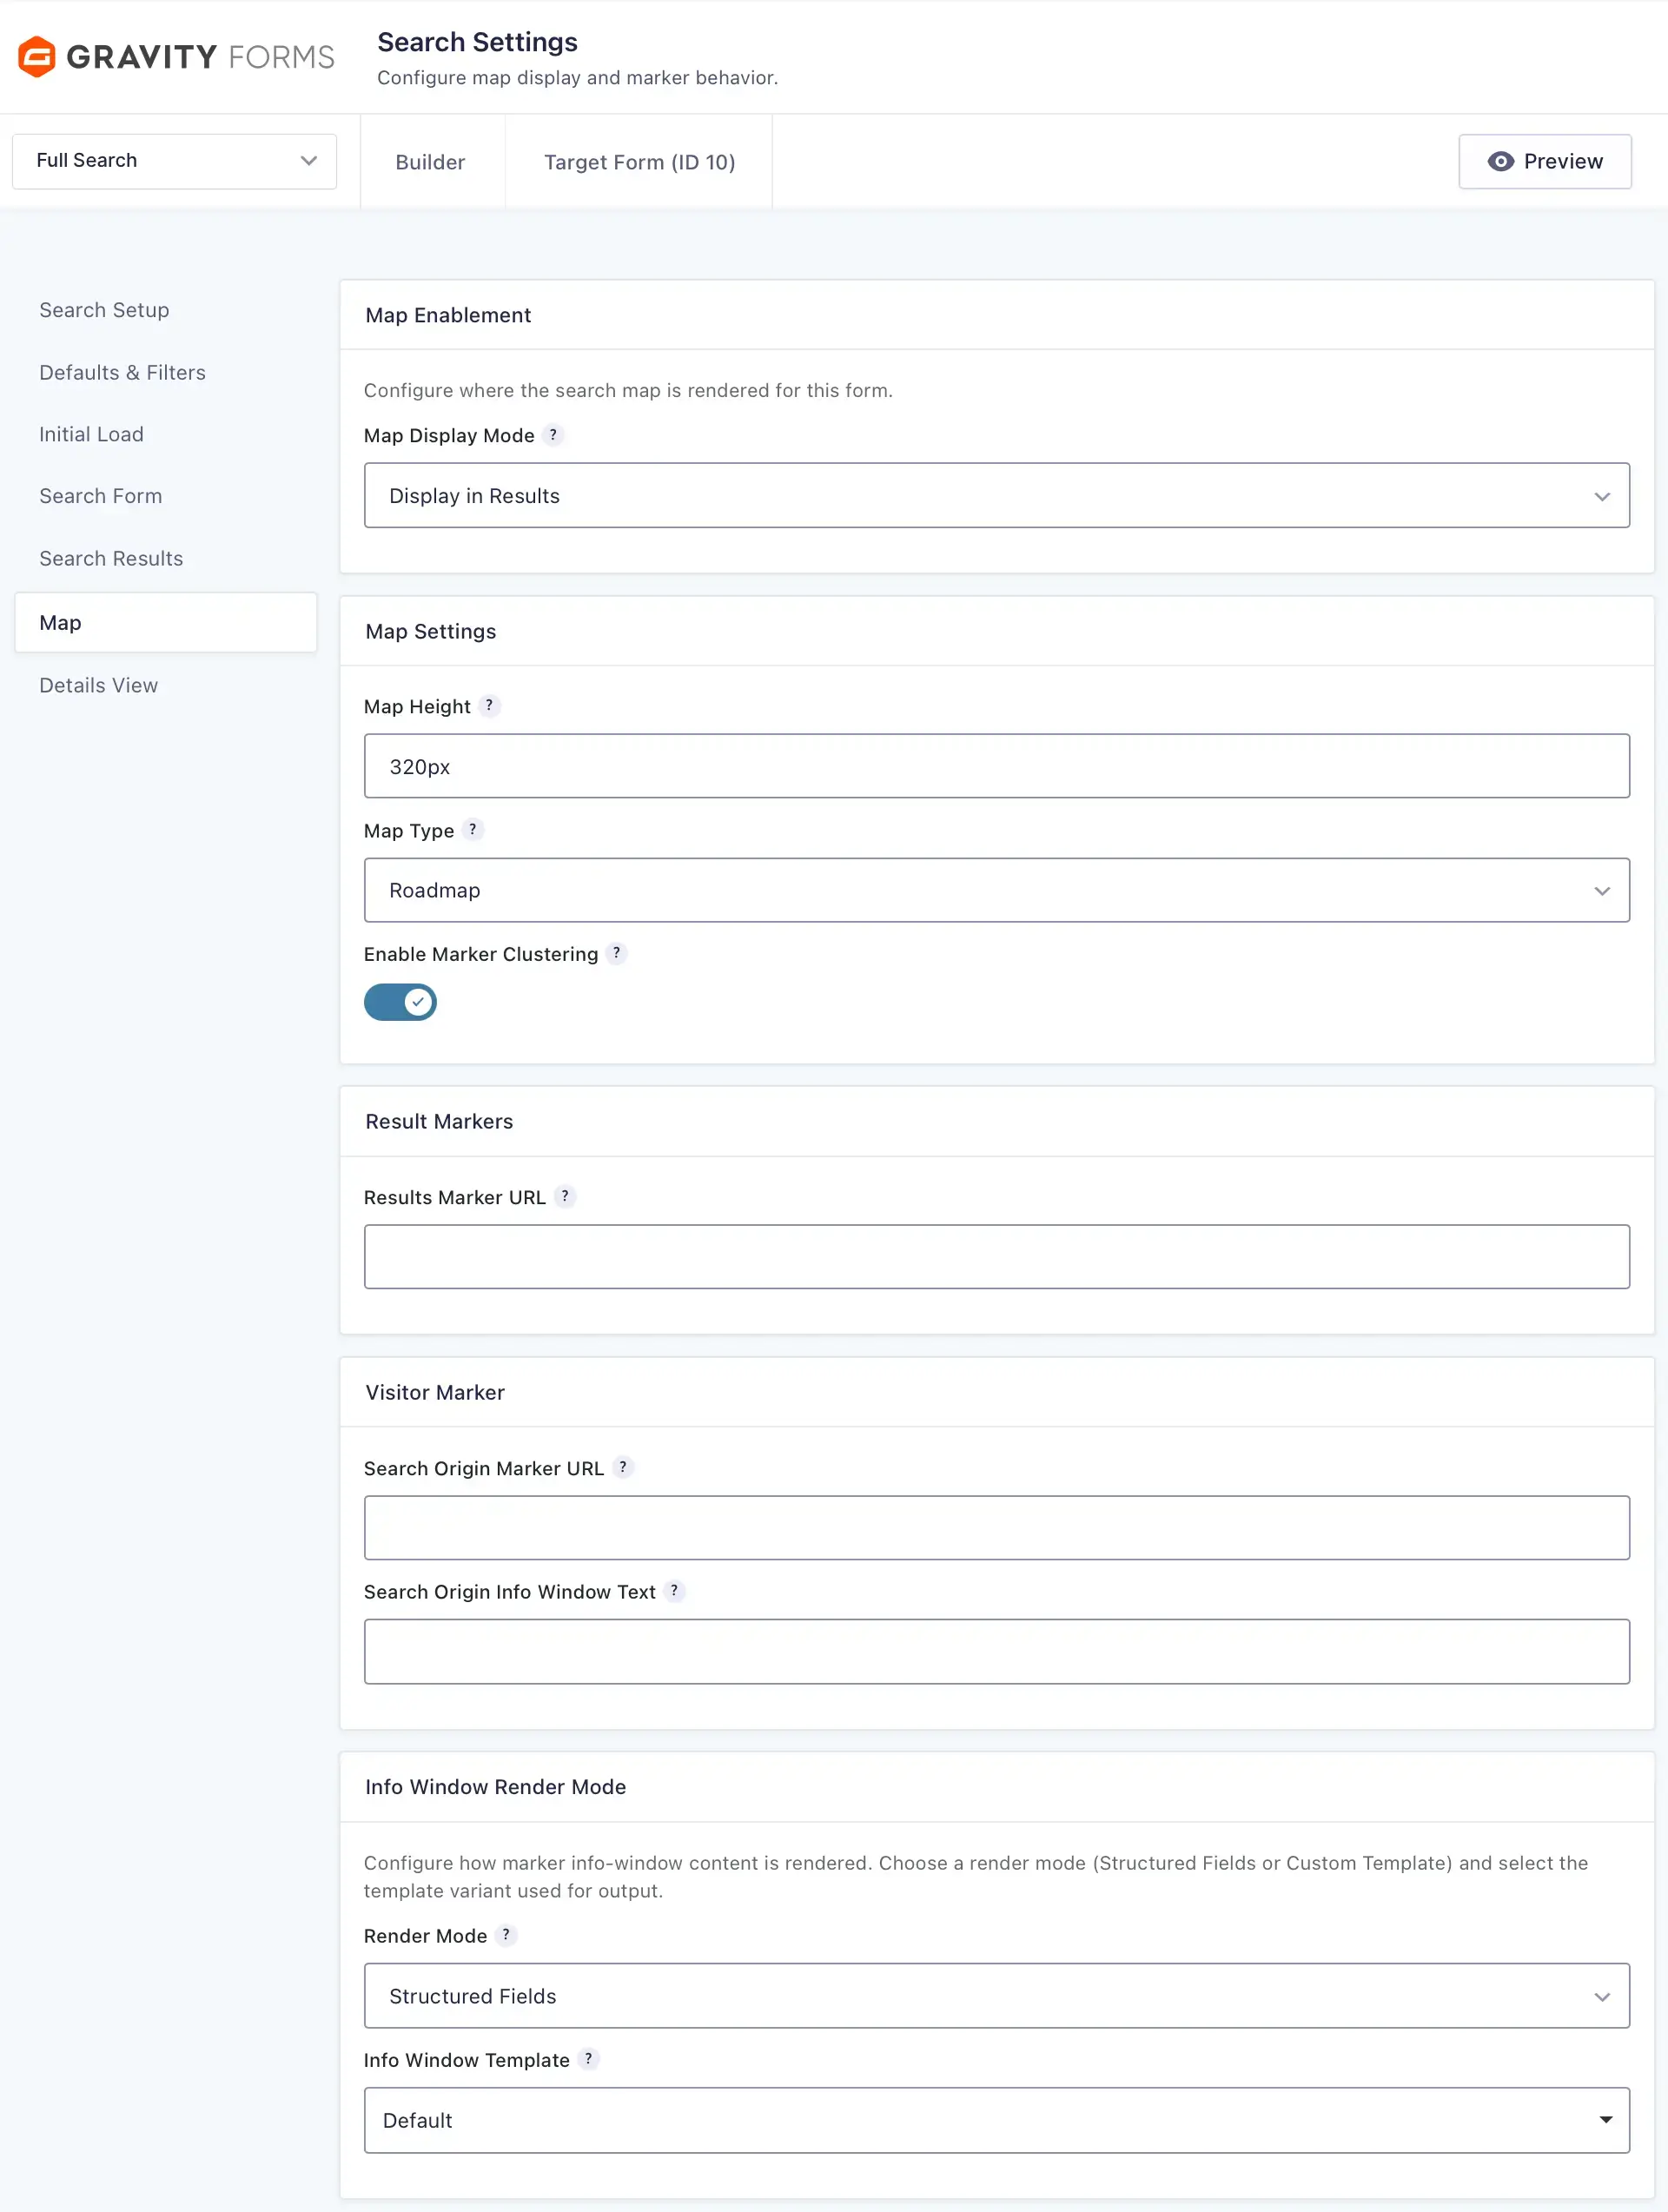
The Map tab controls where a Search’s map is displayed and how its markers and info windows are presented.
Maps use stored location records associated with Target Form entries. They can display matching locations with or without an active proximity search, provided the Search has at least one Location Source Field.
Map settings are useful for store locators, directories, property searches, service finders, and other location-based entry displays.
If entries are not appearing as markers, verify that the correct Location Source Fields are selected and that those entries have stored location records. Configure Entry Geocoding for new and updated entries, and see Importing Existing Entry Locations when older entries need location records.
Check Search Readiness
The Search Readiness panel reviews the saved map configuration and identifies settings that still need attention. It evaluates configuration rather than scanning entry or location data.
Map controls remain unavailable until at least one Location Source Field is selected. The dependency notice links directly to Search Setup → Location Data Scope so you can correct the requirement without searching through the settings tabs.
Configuring Map Settings
Before configuring the Map tab, go to Search Setup → Location Data Scope and select at least one Location Source Field.
1. Map Enablement
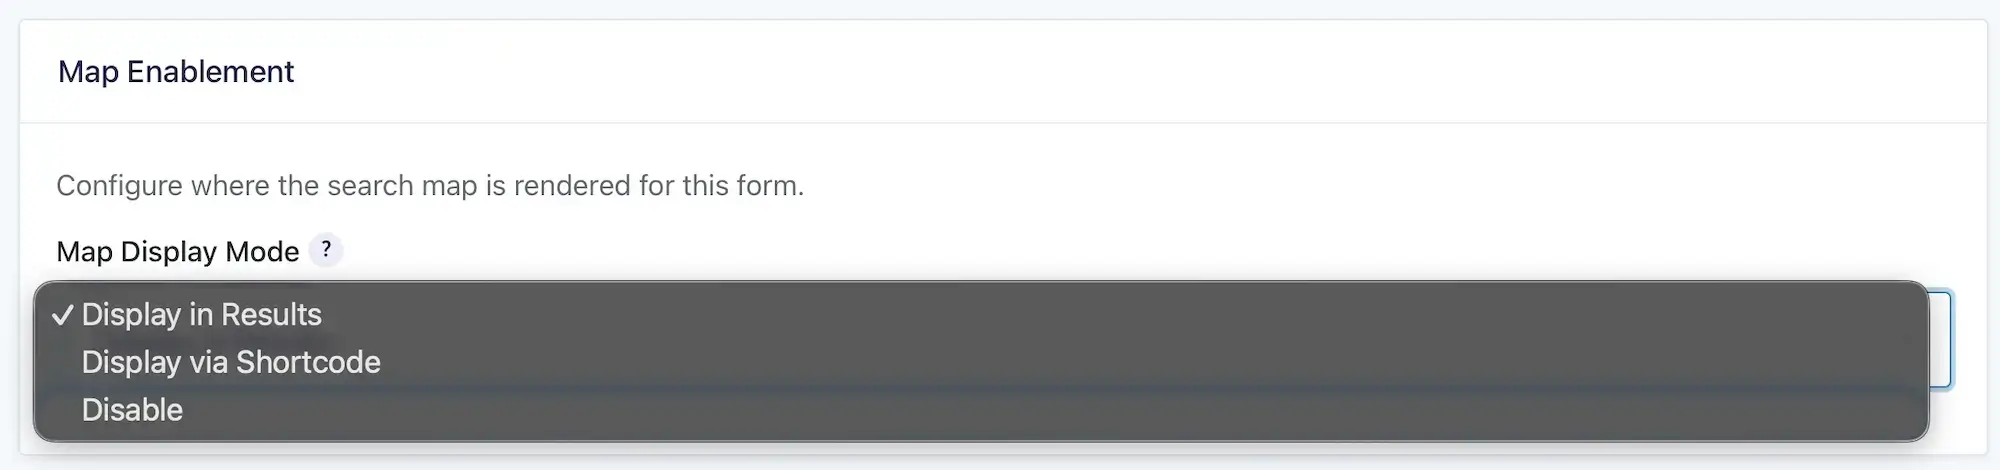
Map Enablement determines where the map is rendered for the Search.
Map Display Mode
Choose one of the following options:
- Display in Results: Render the map as part of the complete Search results layout. This is the default.
- Display via Shortcode: Render the map only where the
[gfgeo_search_map]shortcode is placed. - Disable: Do not render a map for the Search.
Display via Shortcode is useful for split layouts, separate map columns, map-only sections, and other custom page arrangements.
Map controls remain unavailable until at least one Location Source Field is selected under Search Setup → Location Data Scope.
2. Map Settings
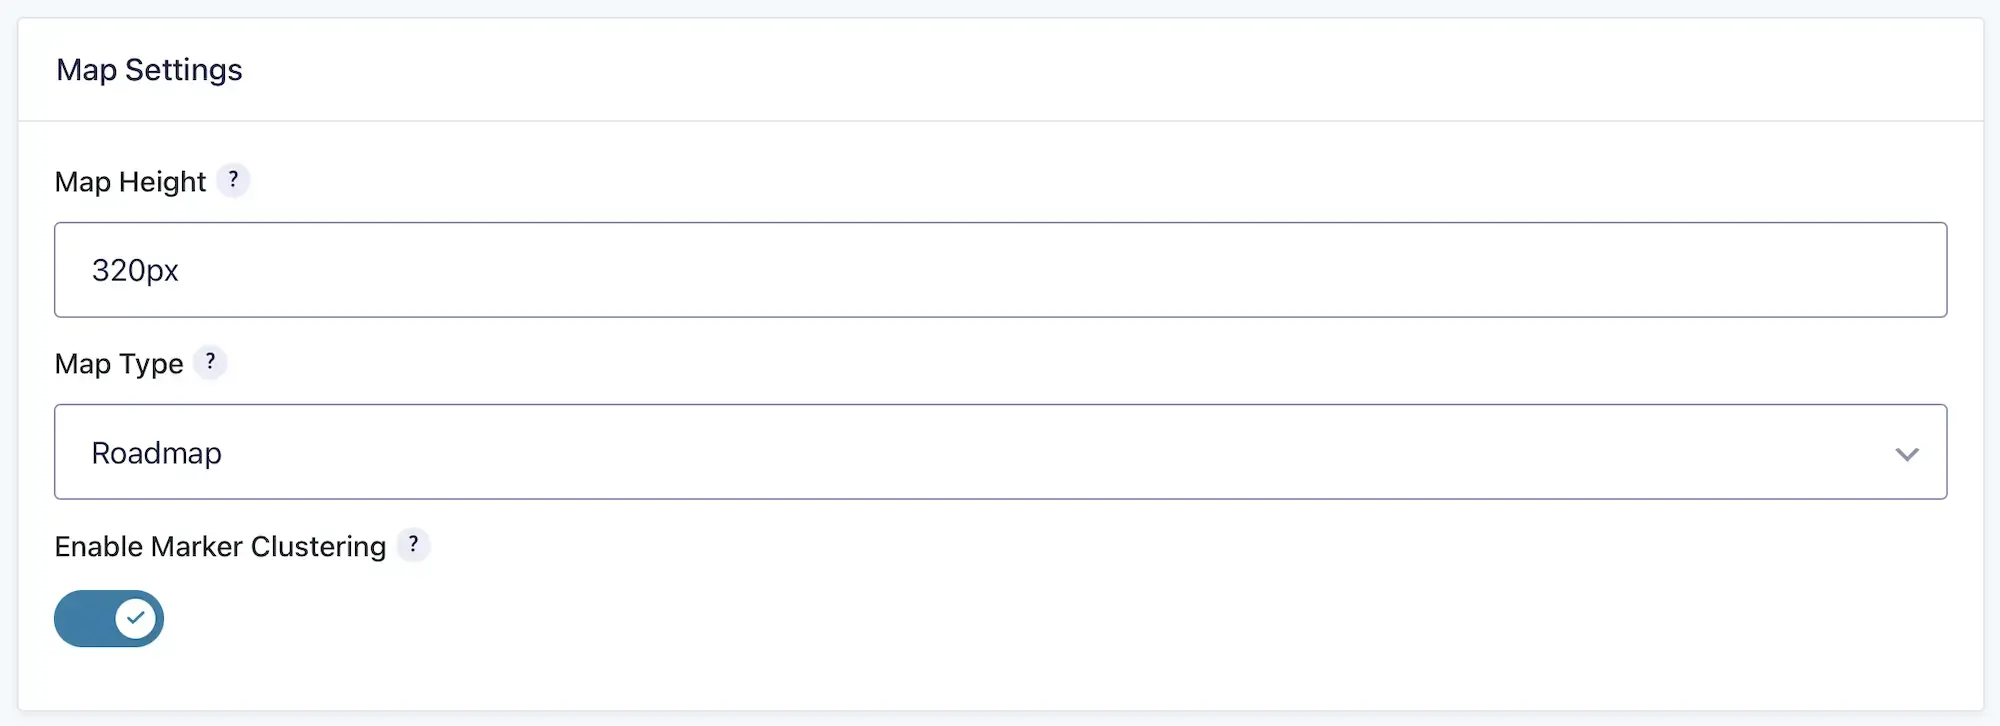
Map Settings control the size, map type, default zoom, and marker clustering behavior.
Map Height
Enter a CSS height value for the map container. The default is 320px.
For example:
320px
Or:
50vh
Map Type
Select the default Google map type:
- Roadmap (default)
- Satellite
- Hybrid
- Terrain
Default Zoom
Set the zoom level used when the map cannot automatically fit the displayed result markers. The default is 12, and the saved value is limited to the supported Google Maps range of 1 through 21.
Enable Marker Clustering
Enable this option to group nearby result markers into clusters. Marker clustering is enabled by default.
Clustering can make the map easier to use when many entry locations are displayed in the same area.
3. Map Markers
The consolidated Map Markers panel configures both result markers and the optional Search Origin Marker.
Result Markers
Each Result Marker represents one qualifying stored location associated with a matching Target Form entry. If one entry has multiple qualifying locations, it can intentionally produce multiple markers.
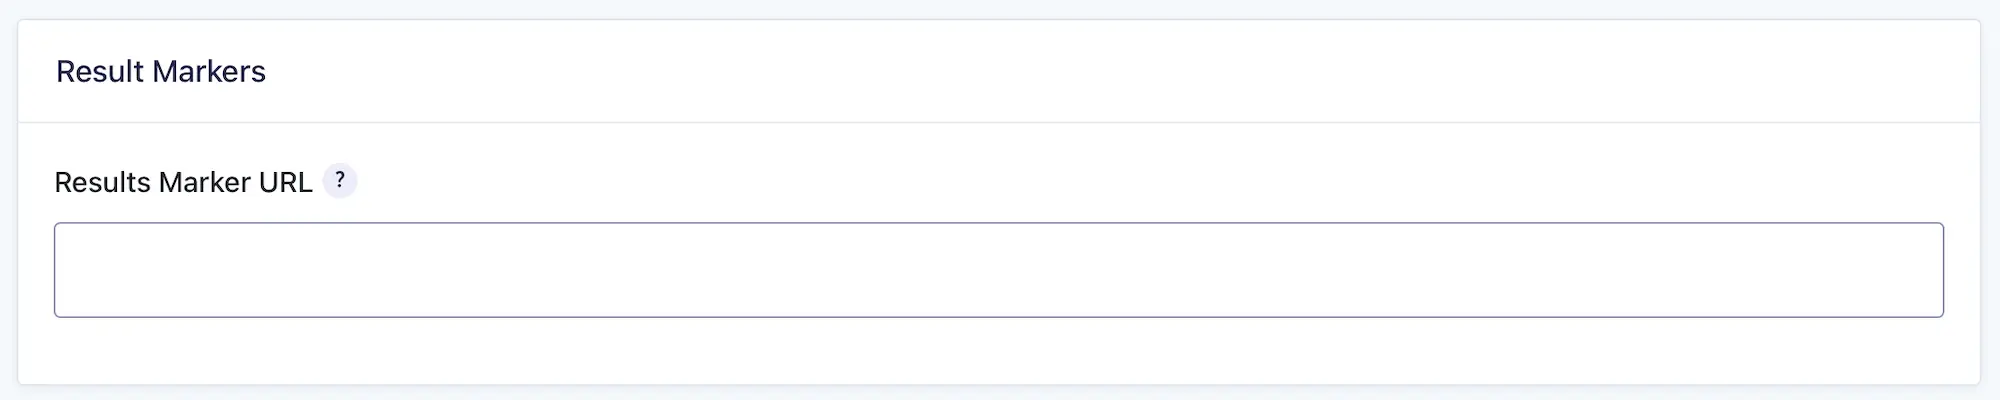
Results Marker URL
Enter the URL of an image to use as the custom marker icon for matching entry locations.
Leave this setting empty to use the default red marker.
Search Origin Marker
The Search Origin Marker represents the address or coordinates used as the center of an active proximity search. It appears only when a usable proximity origin is available; it is not a second result marker.
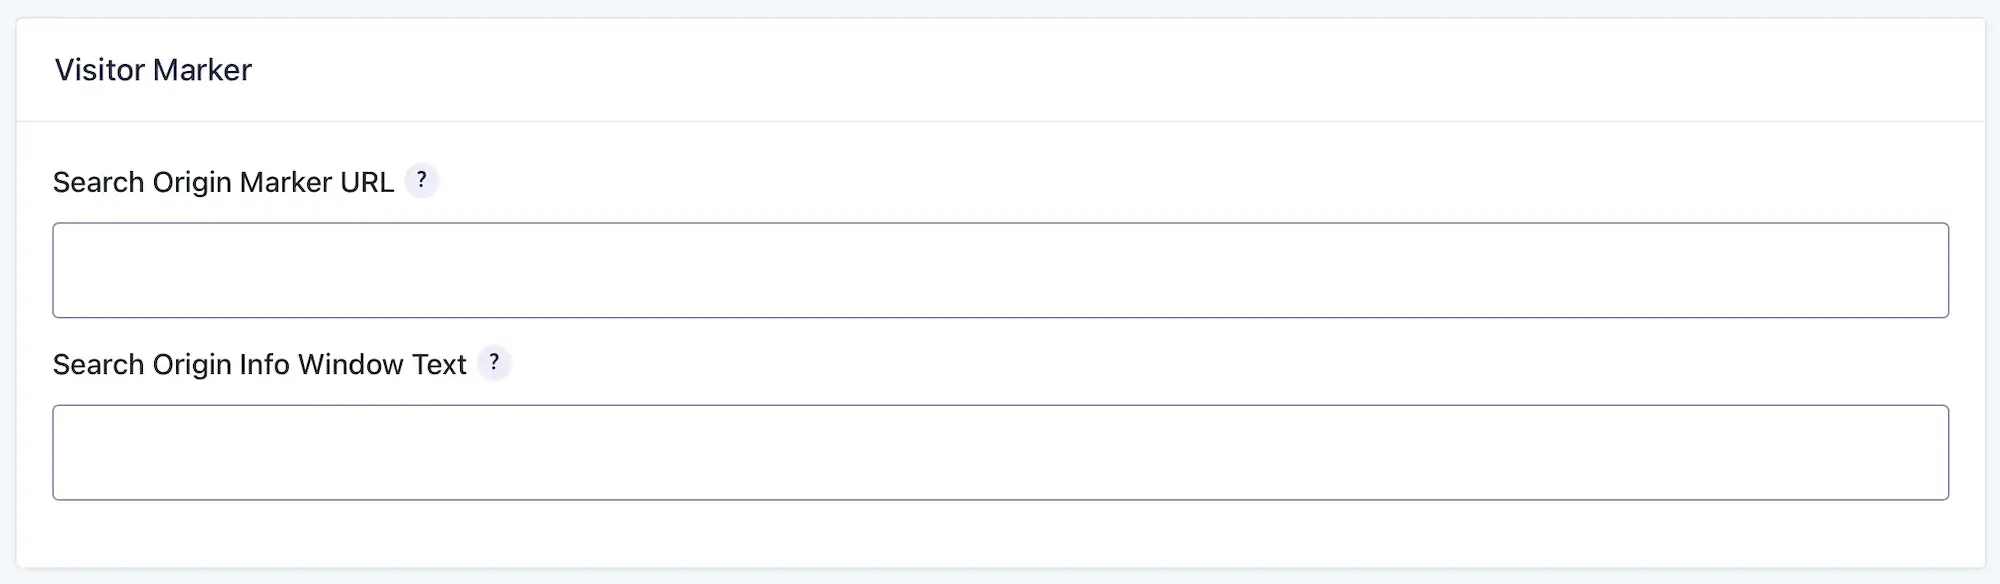
Search Origin Marker URL
Enter the URL of an image to use as the custom marker icon for the searched origin.
Leave this setting empty to use the default blue marker.
Search Origin Info Window Text
Enter optional content to display in the searched origin’s info window. Use the {address} placeholder to display the searched address.
Leave this setting empty when the origin marker should not display info-window content.
4. Info Window Output
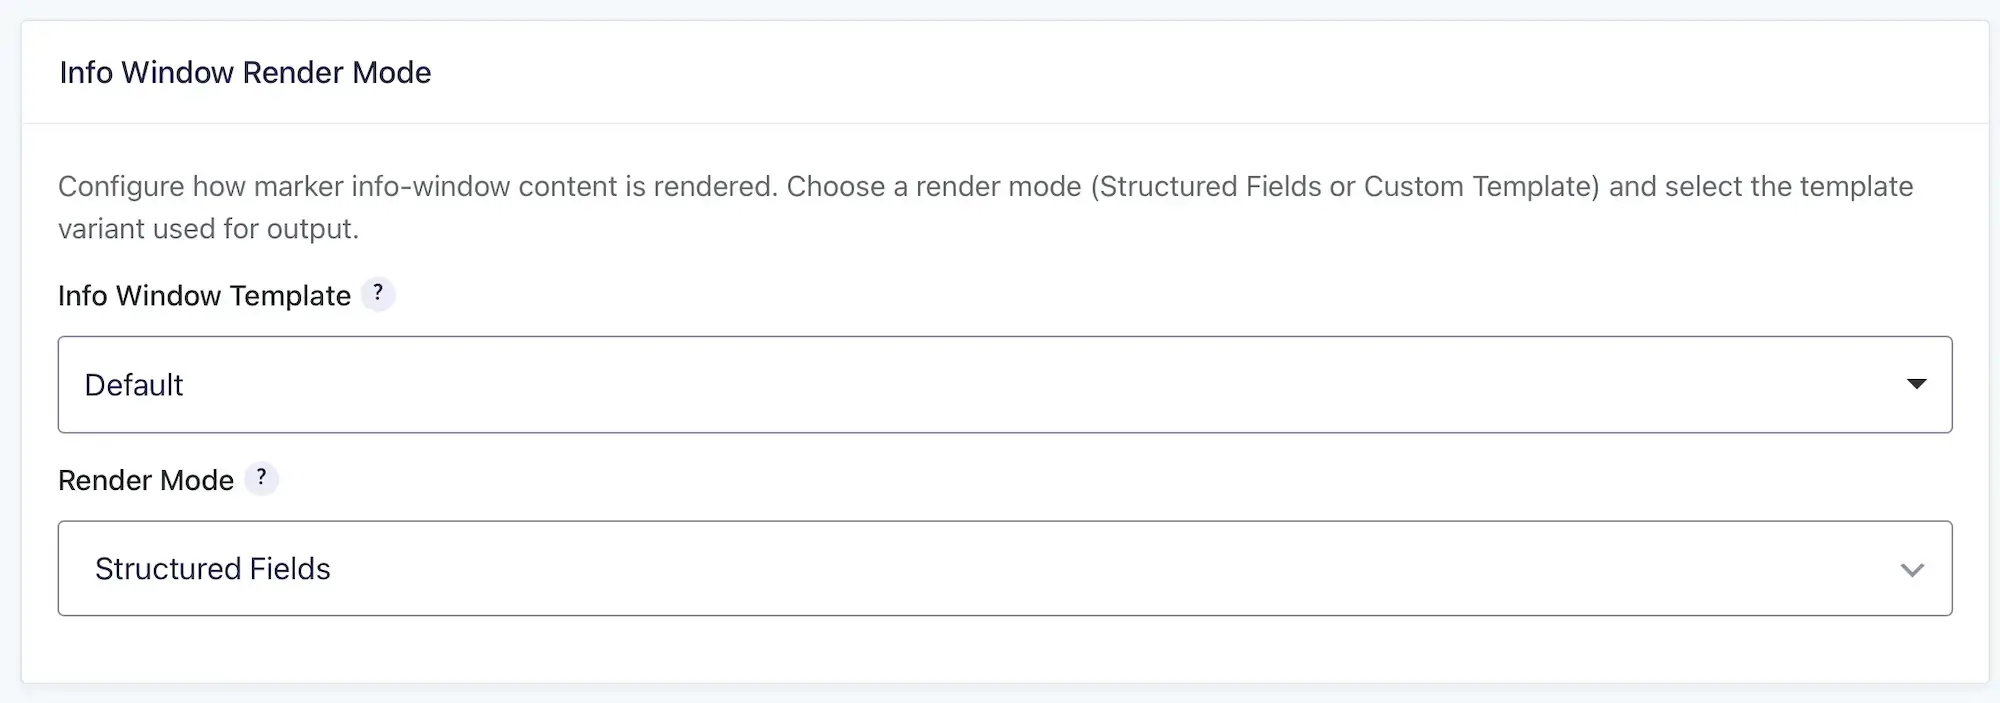
Info Window Output controls how content is displayed when visitors select a result marker.
Visual Template
Select the visual template used for marker info windows.
Output Mode
Choose how the info-window content is generated:
- Structured Fields: Build info windows from selected Target Form fields and configurable display rows. This is the default.
- Custom HTML: Build info windows using custom HTML and Target Form merge tags.
5. Info Window Structured Output
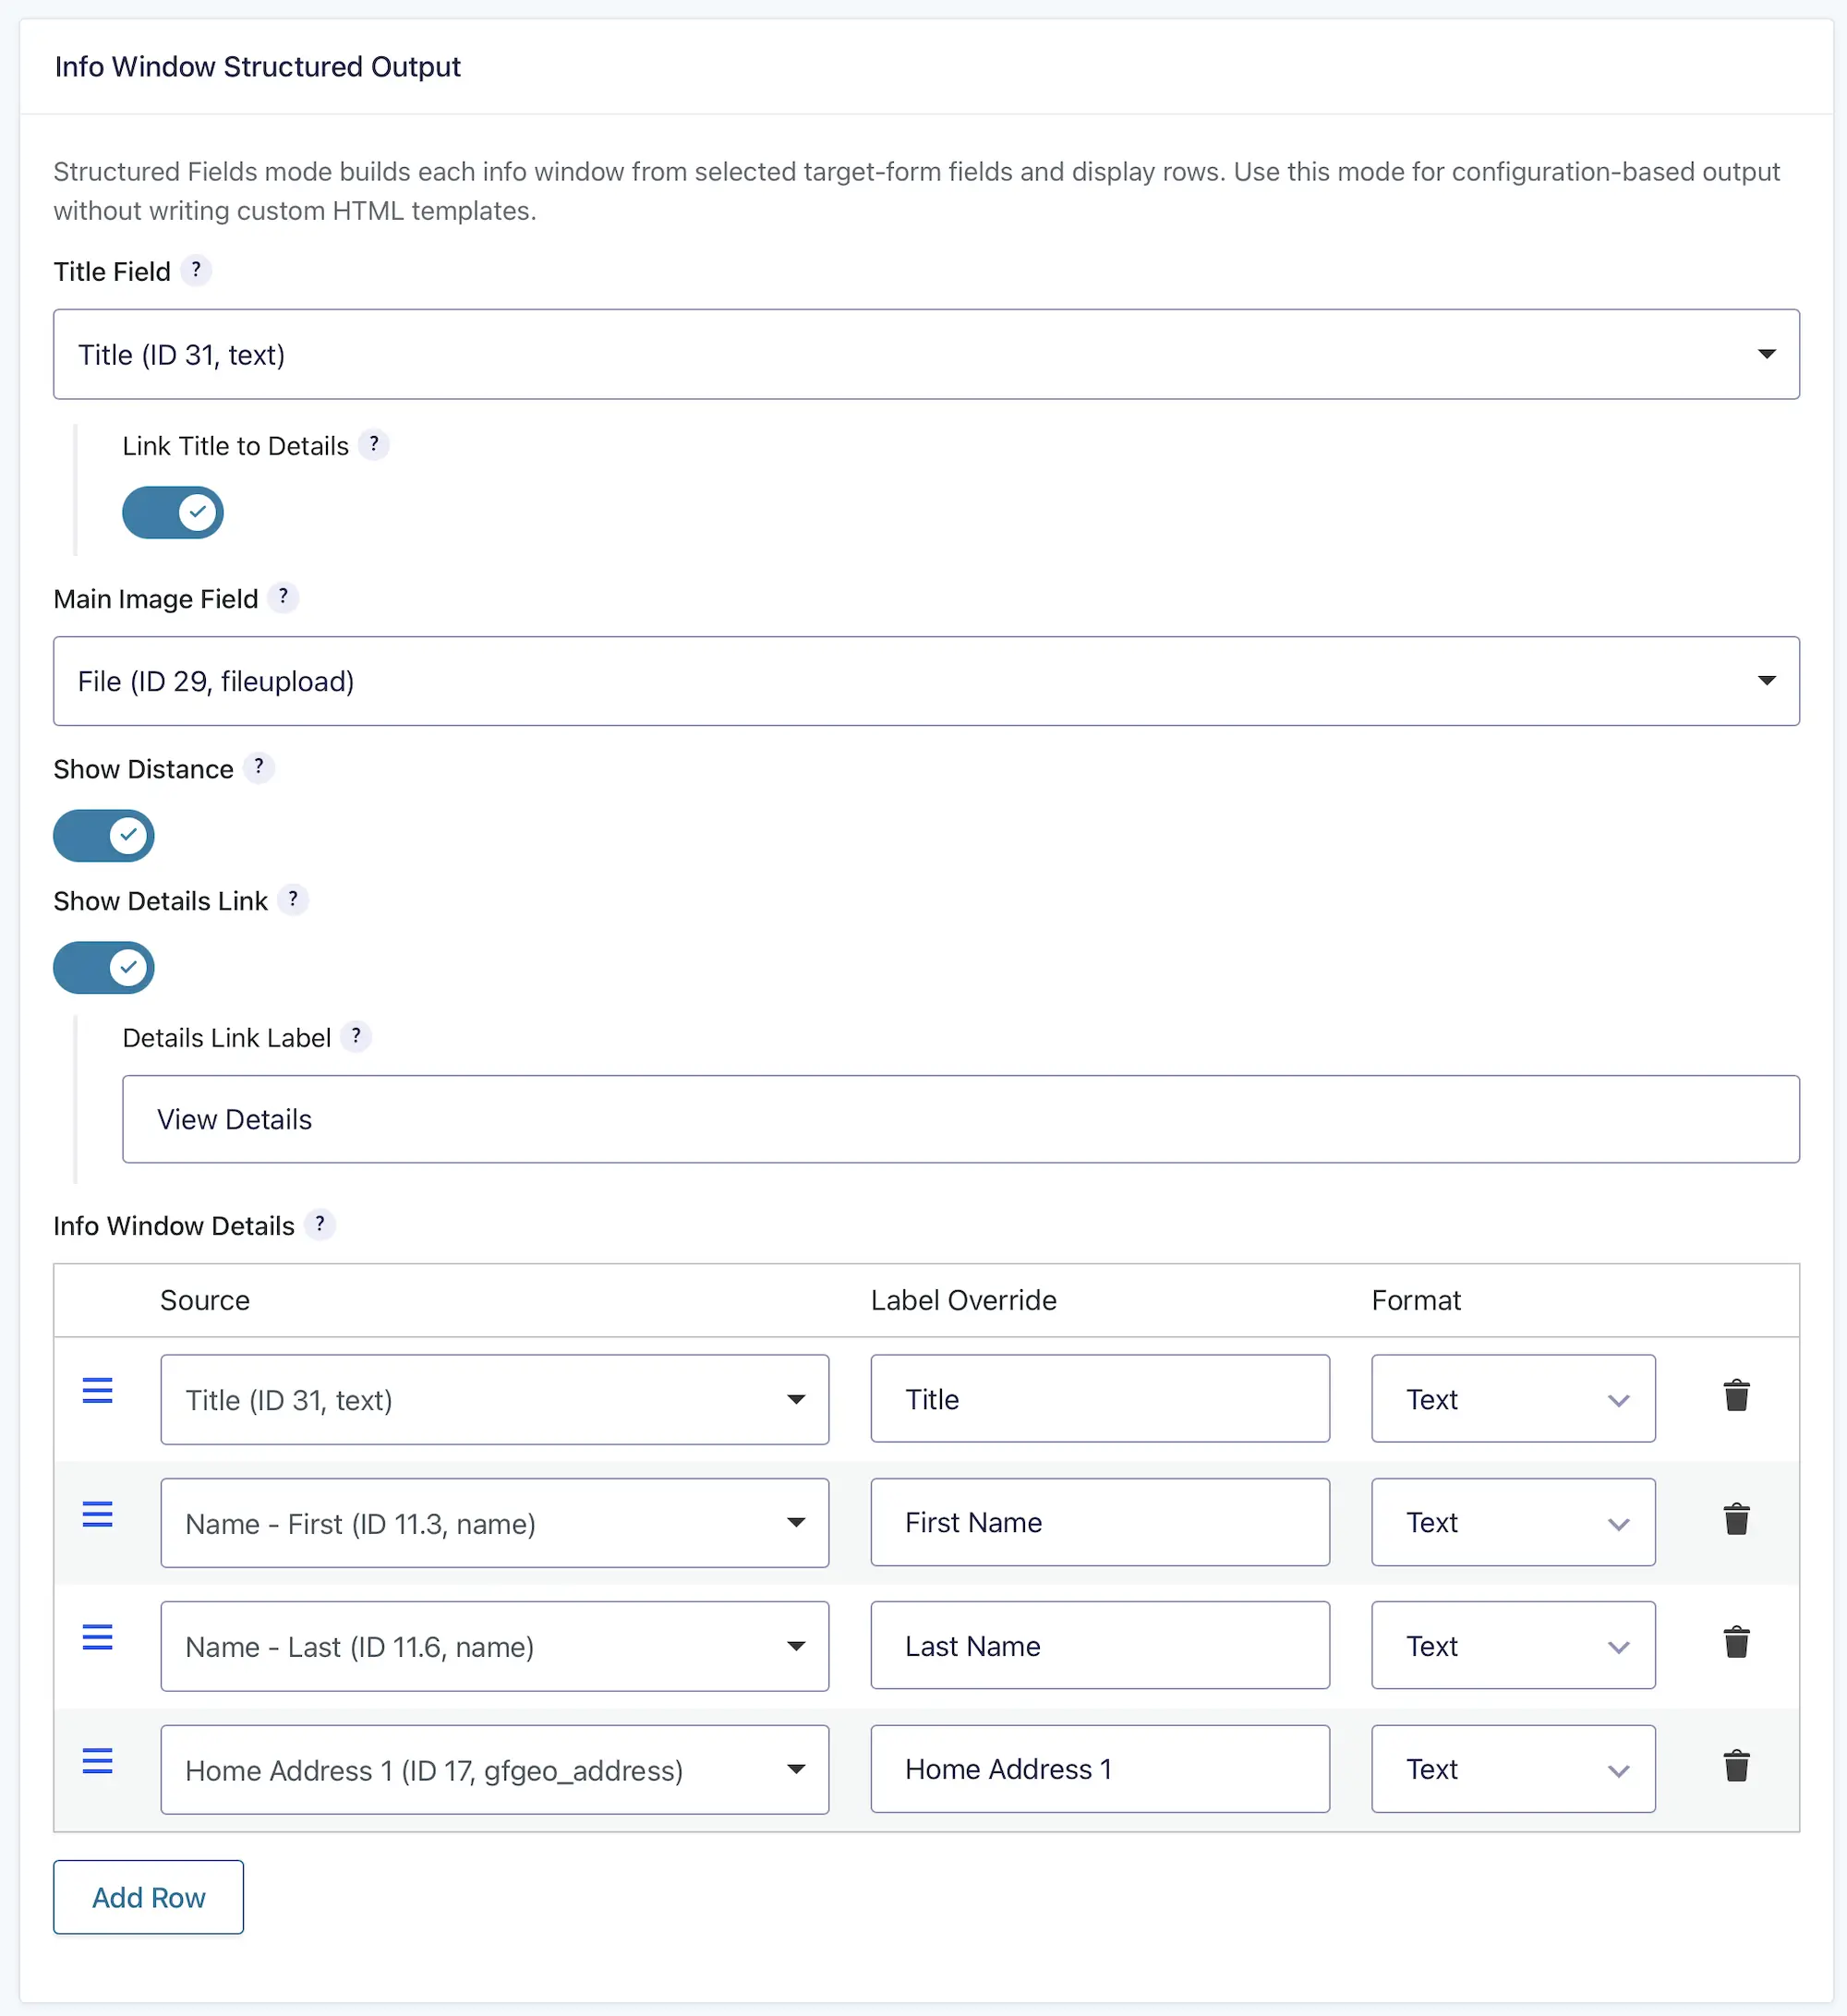
Structured Fields mode builds each info window from selected Target Form fields and configurable display rows without requiring custom HTML.
Title Field
Optionally select a Target Form field to display as the info-window title. The system Entry ID is the default title source.
Link Title to Details
Enable this option to link the info-window title to the entry’s details URL.
This control is disabled until a Details Page is selected. Choose the destination page and configure its URL under Search Setup → Details Routing, then configure the individual entry output under Details Display.
Main Image Field
Optionally select a compatible Target Form field to use as the primary image.
Show Distance
Display the calculated distance when a proximity origin and distance are available. This setting is enabled by default, but no distance is shown when the Search has no usable origin.
Show Details Link
Display a details link in each info window. This setting is disabled by default. The destination and URL format are controlled by the settings under Search Setup → Details Routing.
This control is disabled until a Details Page is selected. The link appears only when Gravity Search can generate an eligible Details URL for that result.
Details Link Label
Customize the text displayed for the details link.
Default value: View Details.
Info Window Details
Add and arrange rows containing Target Form fields, entry metadata, distance information, or details links.
Each row can include:
- Source: The field or data source displayed by the row.
- Label Override: An optional custom label used instead of the default field label.
- Format: Text, Link, Link (New Tab), or Image.
Rows can be added, removed, and reordered to create compact, structured marker content.
6. Info Window Custom HTML
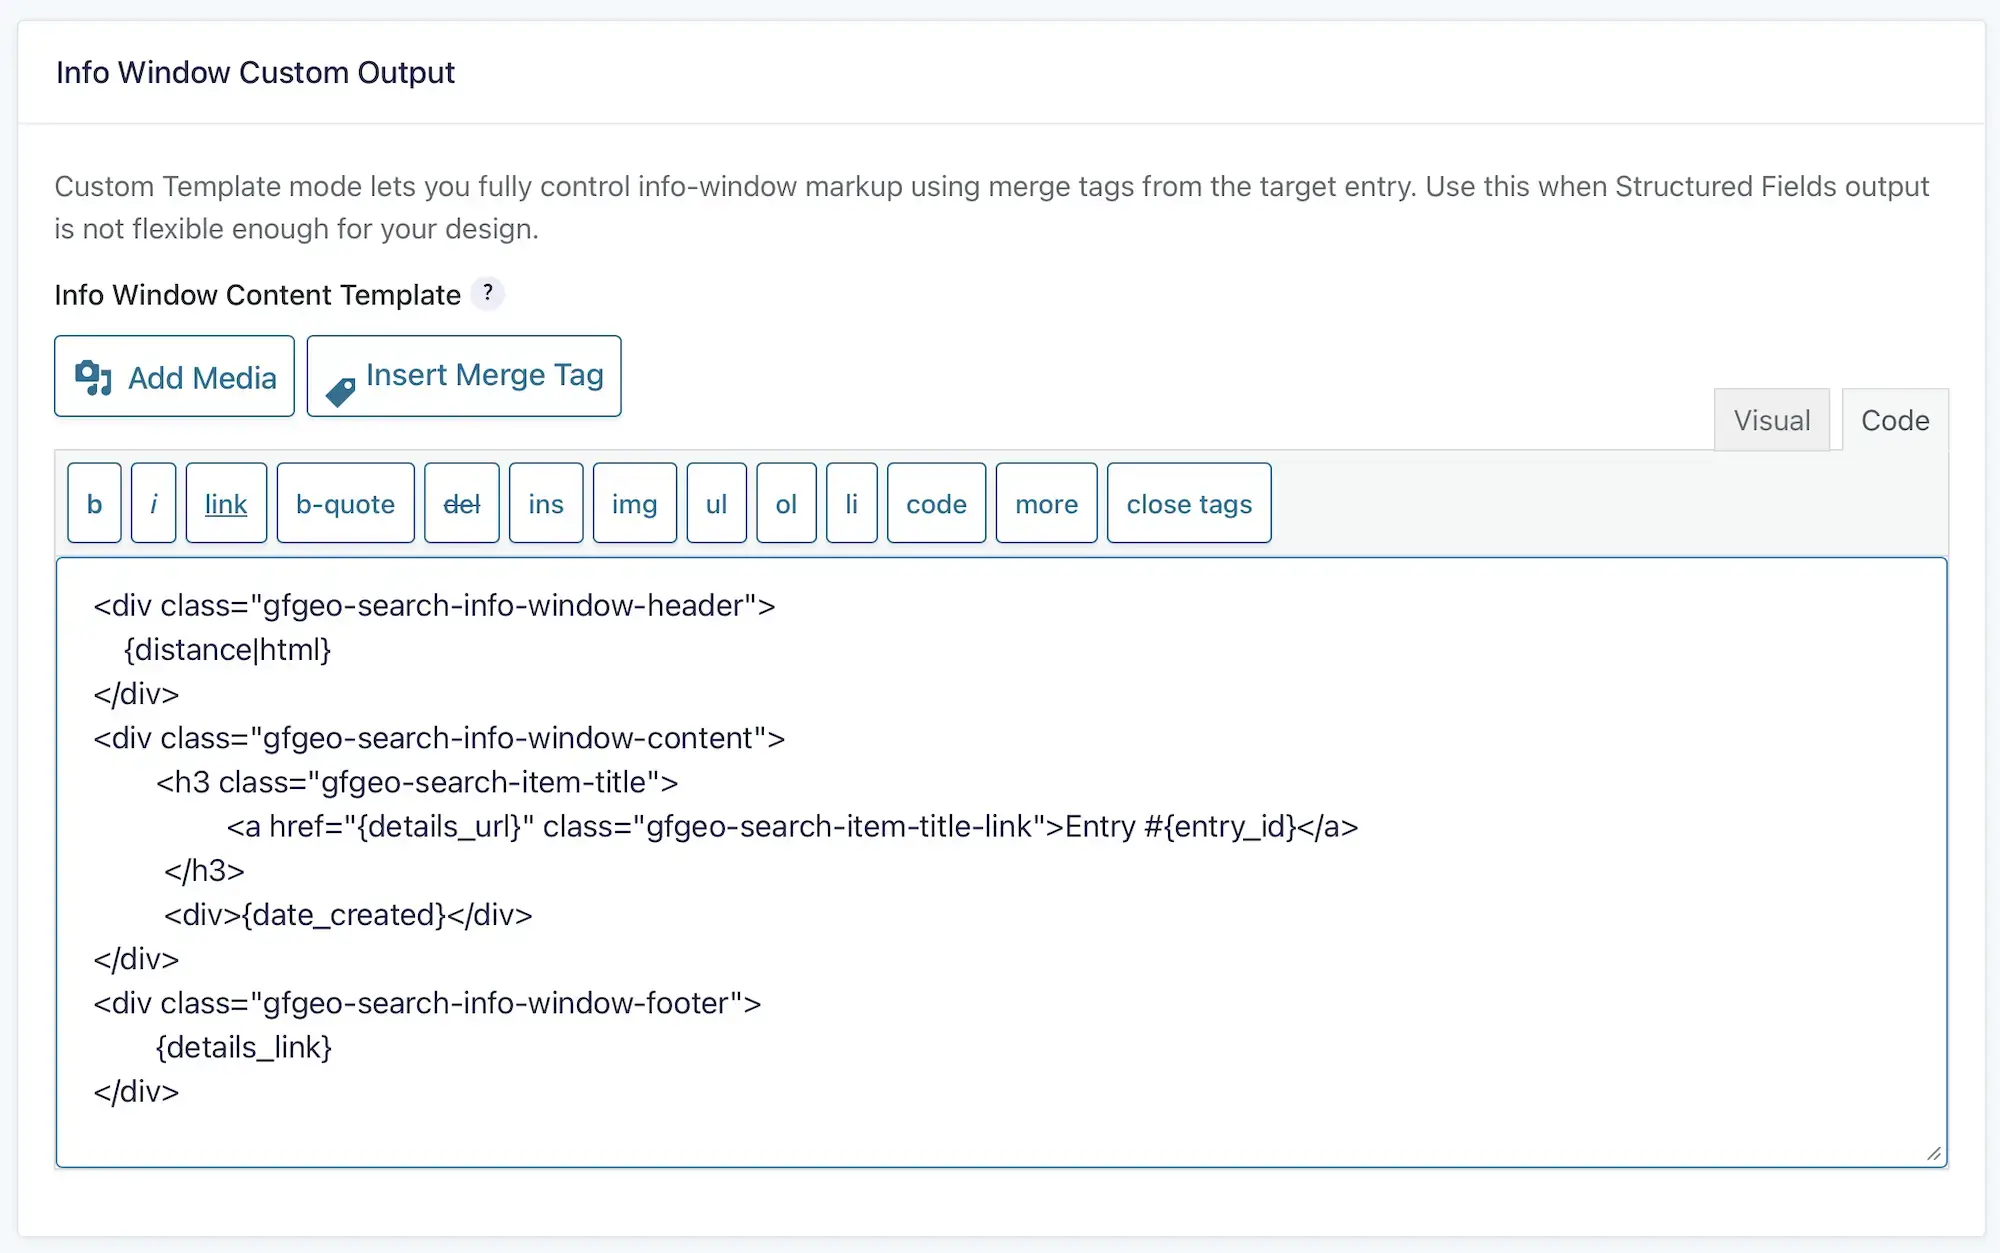
Custom HTML mode allows you to control the info-window markup using HTML and Target Form merge tags. Use this mode when Structured Fields does not provide enough control for the required design.
Info Window HTML
Enter the HTML used to render each result marker’s info window. Use the merge-tag selector to insert Target Form fields and supported values such as the details link.
See Search Templates & Merge Tags for additional examples.
How Map Settings Work
When a Search runs, Gravity Search retrieves matching entries and the stored location records associated with the selected Location Source Fields. Each qualifying entry-location pair can be displayed as a distinct result marker. When a proximity origin is available, the map can also display the Search Origin Marker.
One entry can intentionally produce multiple markers when it has multiple qualifying locations. Each marker keeps the identity and context of its specific location, including its address and calculated distance where available.
Selecting a result marker opens the info window generated by the chosen Visual Template and Output Mode for that specific result location.
The map belongs to the complete Search rather than the optional frontend search form. It can therefore display predefined or initial-load results without visitor-facing search fields.
Tips for Setup
- Select at least one Location Source Field before configuring the Map tab.
- Use Display via Shortcode when the map should appear separately from the standard results layout.
- Use appropriately sized marker images to reduce unnecessary page weight.
- Enable marker clustering when many locations may appear in the same area.
- Use Structured Fields for configuration-based info windows and Custom HTML for custom markup.
- Test the map with initial-load results, active filters, and proximity searches when those features are enabled.
Saving Settings
Use either Save Settings button on the Map tab. Saving this tab updates only the current Map settings while preserving values stored on the other Gravity Search tabs. Use Search Readiness after saving to confirm the map and any Details-link dependencies are valid.