
Creating Your First Gravity Forms Search
Introduction
A Gravity Forms Search queries and displays entries collected through a separate Target Form. In this
guide, you will create a Search, connect its Target Form, configure Search Settings, and optionally add fields that
visitors can use to refine the results.
Search fields, location controls, maps, and entry Details are optional. A Search can also load a predefined directory
automatically without displaying visitor controls.
Creating a Search
Choose the creation method that best matches your starting point.
Option 1: Create a Blank Search
- In WordPress, open Forms → New Search.
- Enter a title and description.
- Create the Search to open its Search Settings.
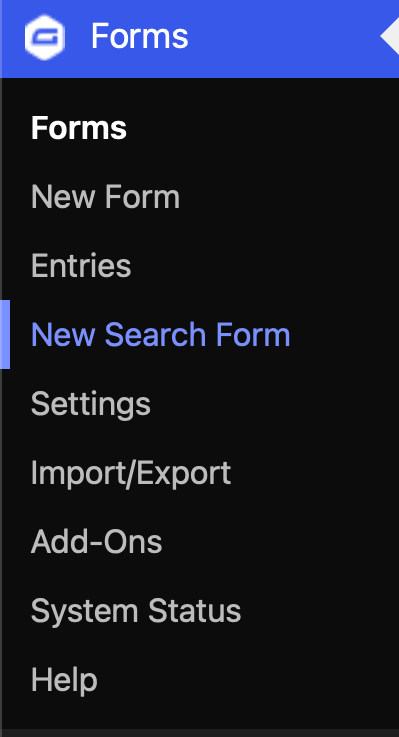
The Gravity Forms sidebar groups Forms, New Form, Searches, and
New Search. Use Searches to return to the filtered list of existing Searches.
A blank Search starts with no visitor-facing fields. This is useful when you want to configure an automatic directory
first or decide later whether visitors need filters.
Option 2: Create a Search from a Target Form
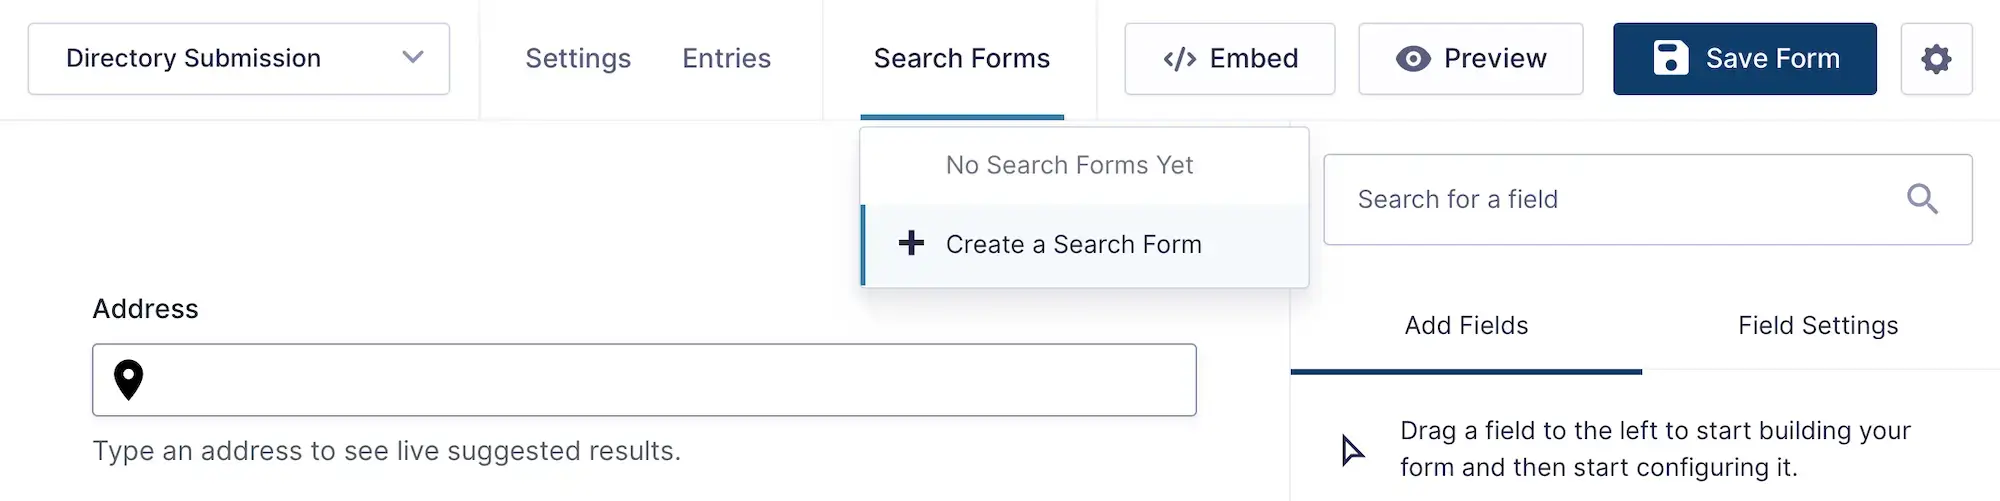
On the Forms list, locate the regular Gravity Form that already contains the entries you want to search and choose
Create Search from its row actions. You can also open that regular form and use the
Searches → Create a Search toolbar action.
Gravity Search creates an active Search, connects it to the current form, and opens Search Settings. This is the
quickest path when the Target Form already exists. The protected creation action will not use another Search as the
Target Form.
Option 3: Use the Search Template
Choose the Search template in the Gravity Forms template library when you want a starter Search Form
containing Address, Radius, and Units fields. This method opens the Search Form Builder because the template already
contains visitor-facing controls.
You still need to select a Target Form, review the proximity field assignments, and save the Search Settings before
testing the frontend.
Selecting a Target Form
The Target Form is the regular Gravity Form that stores the entries the Search will query. A Search created from a
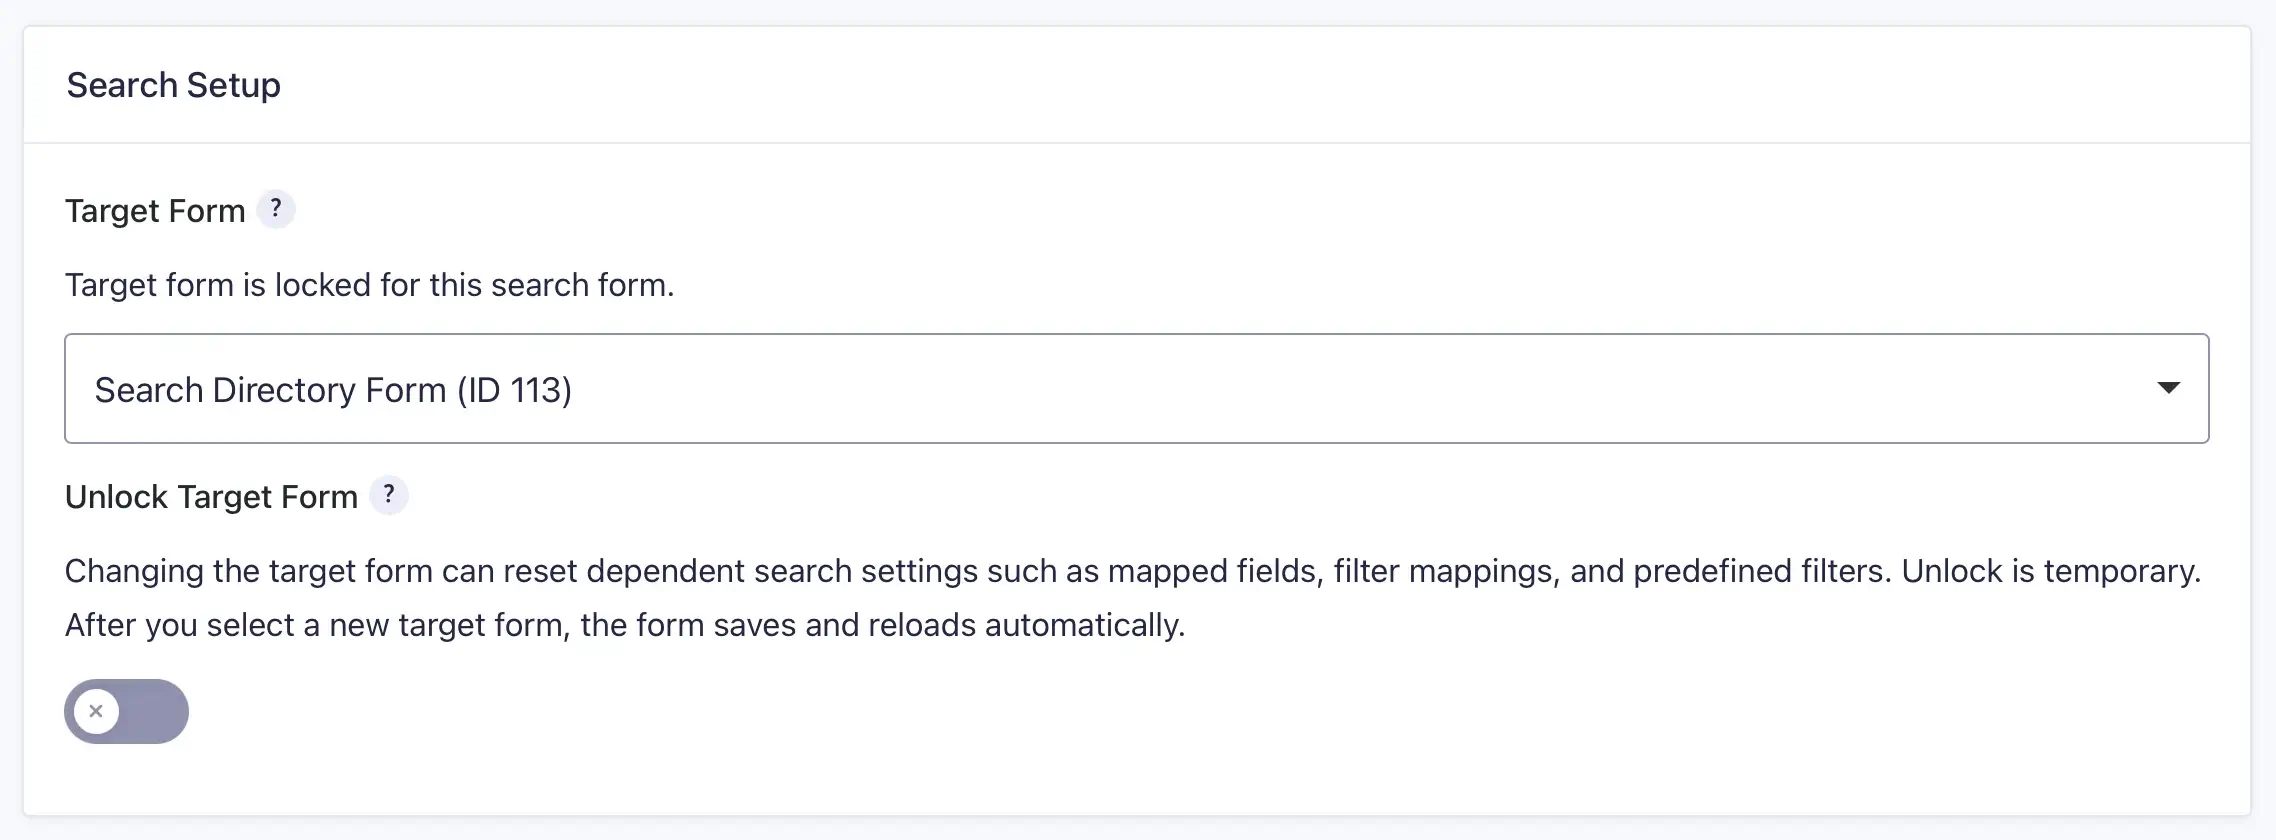
regular form is connected automatically. For a blank or template-based Search, open Search Setup,
select the Target Form, and save the tab.
One Search queries one Target Form. After the first save, the selector is locked to prevent an accidental change from
invalidating field mappings and other form-dependent settings. Use Unlock Target Form only for an
intentional change, then review every dependent setting.
Location features can use eligible current or historical Target Form location sources. A text or field-filtering
Search does not require a location source.
Adding Search Fields
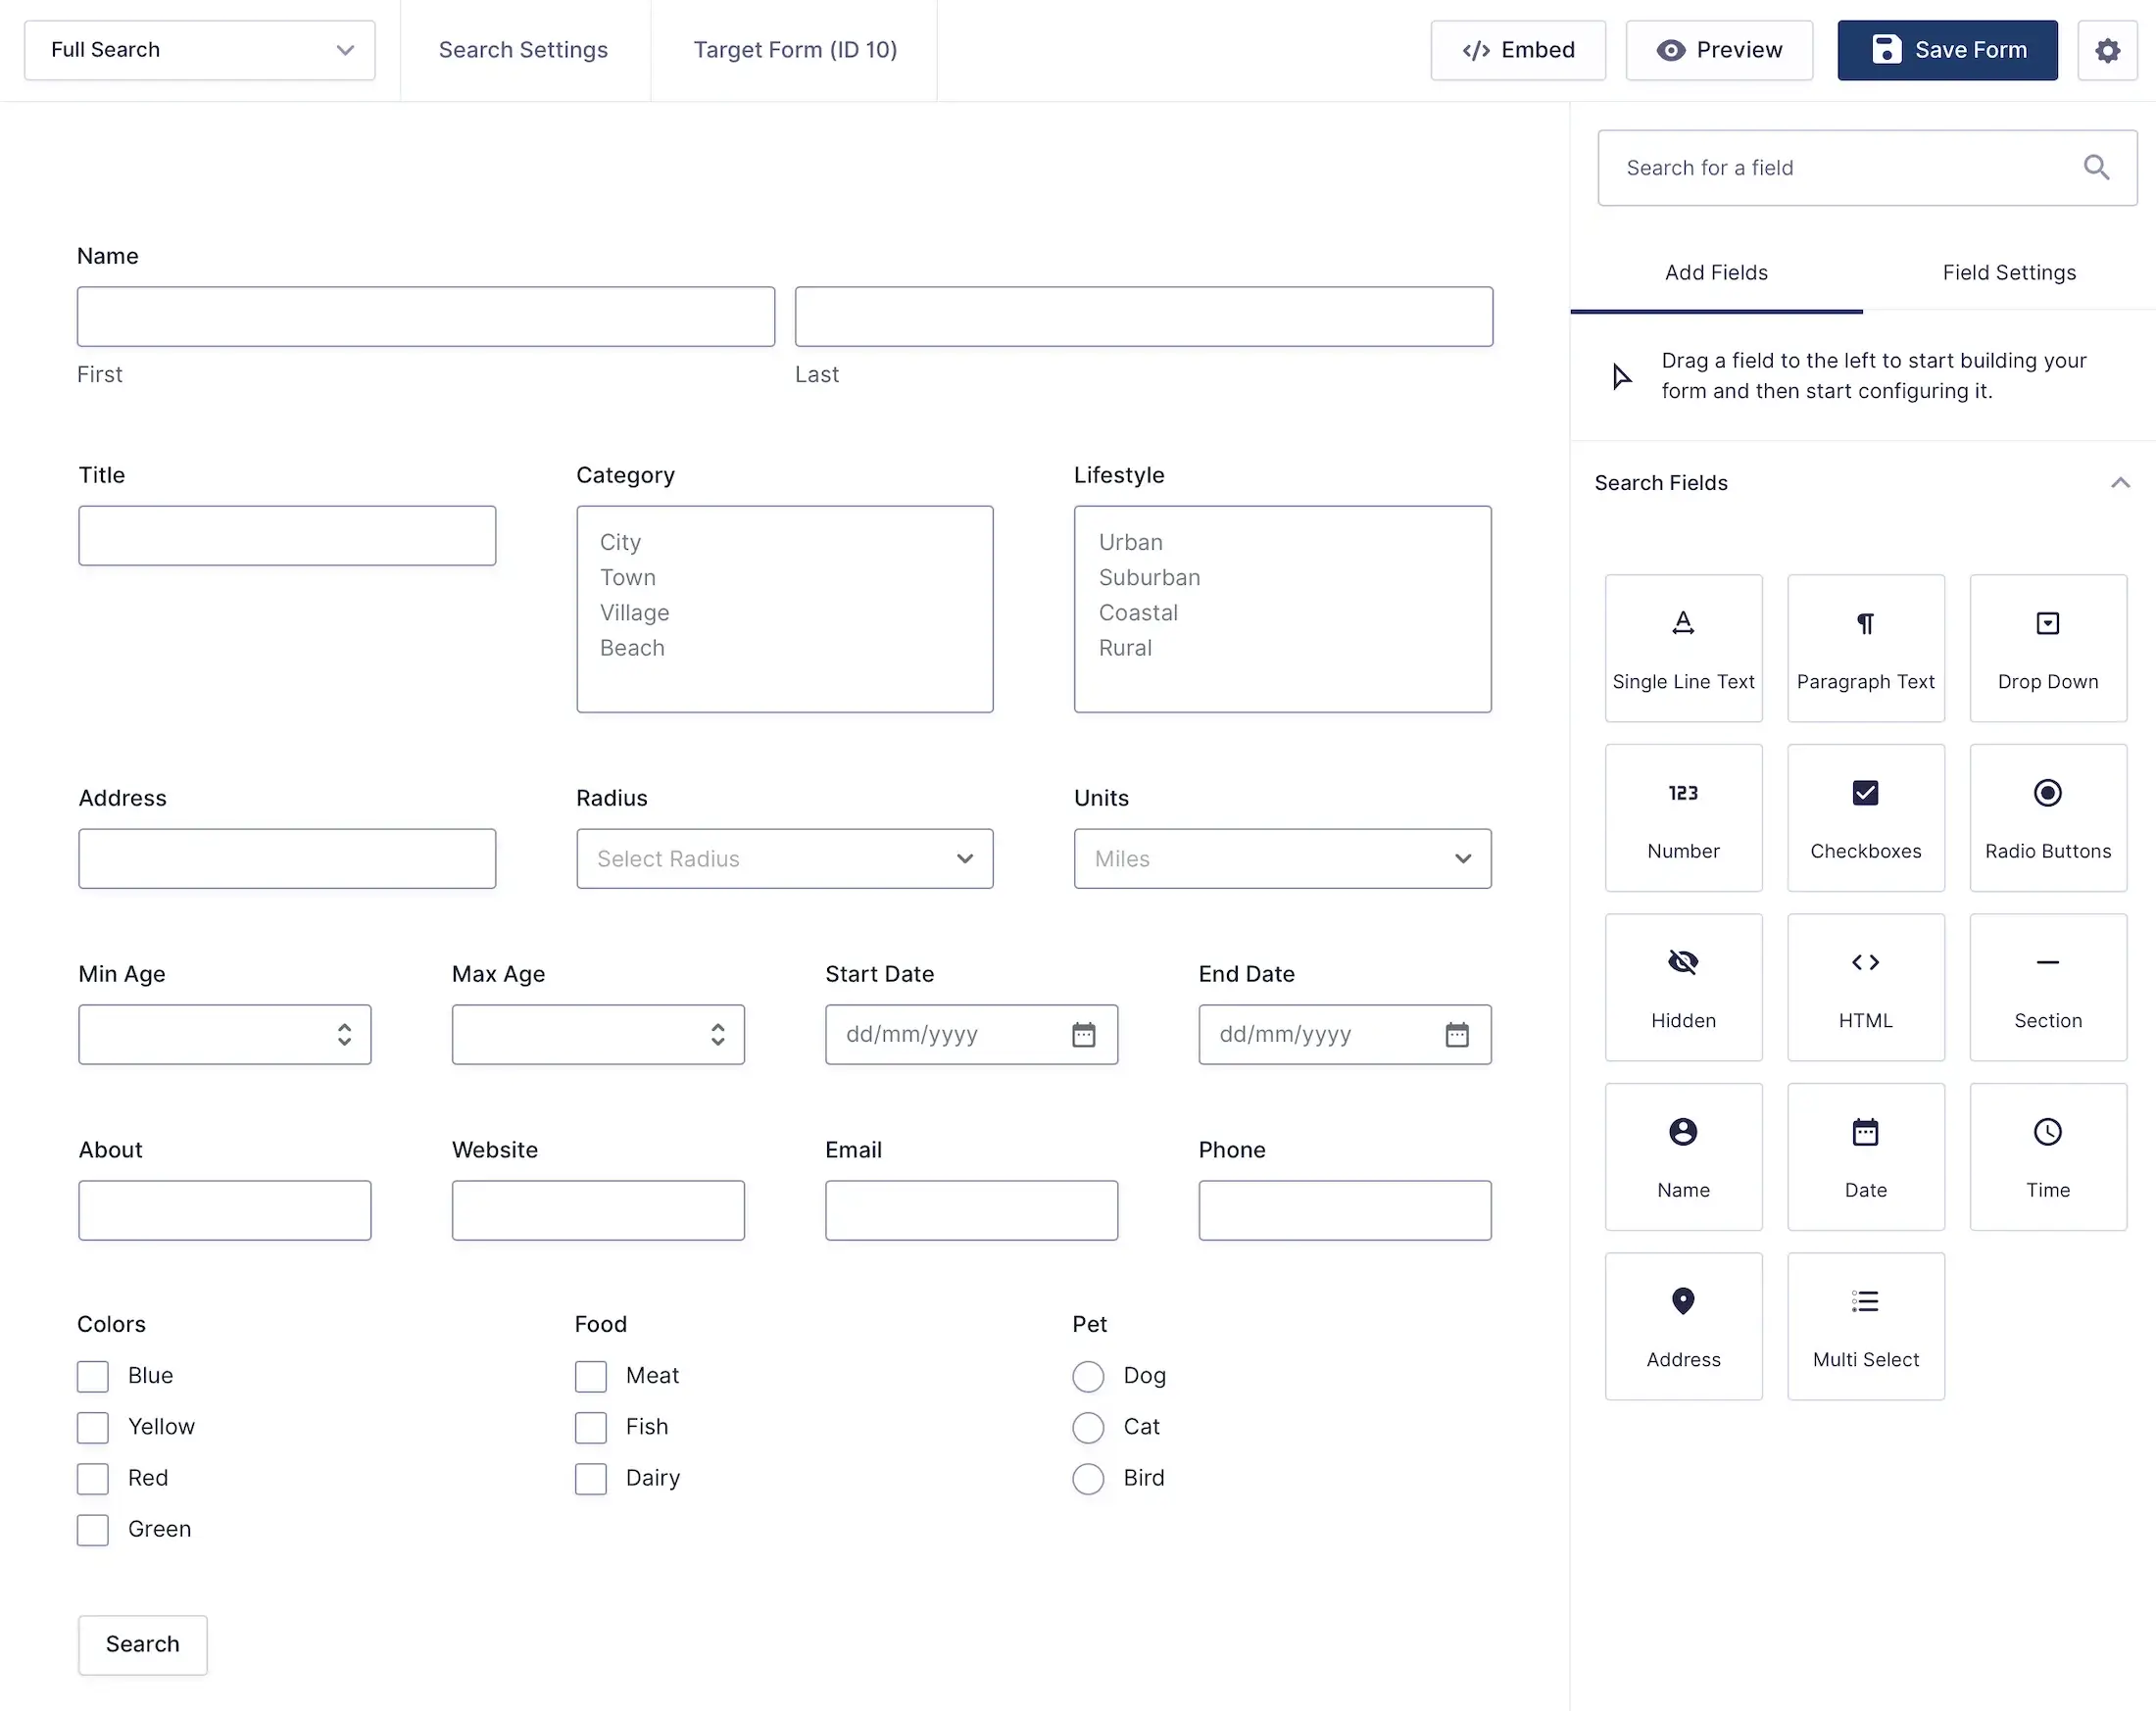
Open the Search Form Builder when visitors need controls that refine the results. Supported choices
include common text, choice, number, date, address, radius, and units fields.
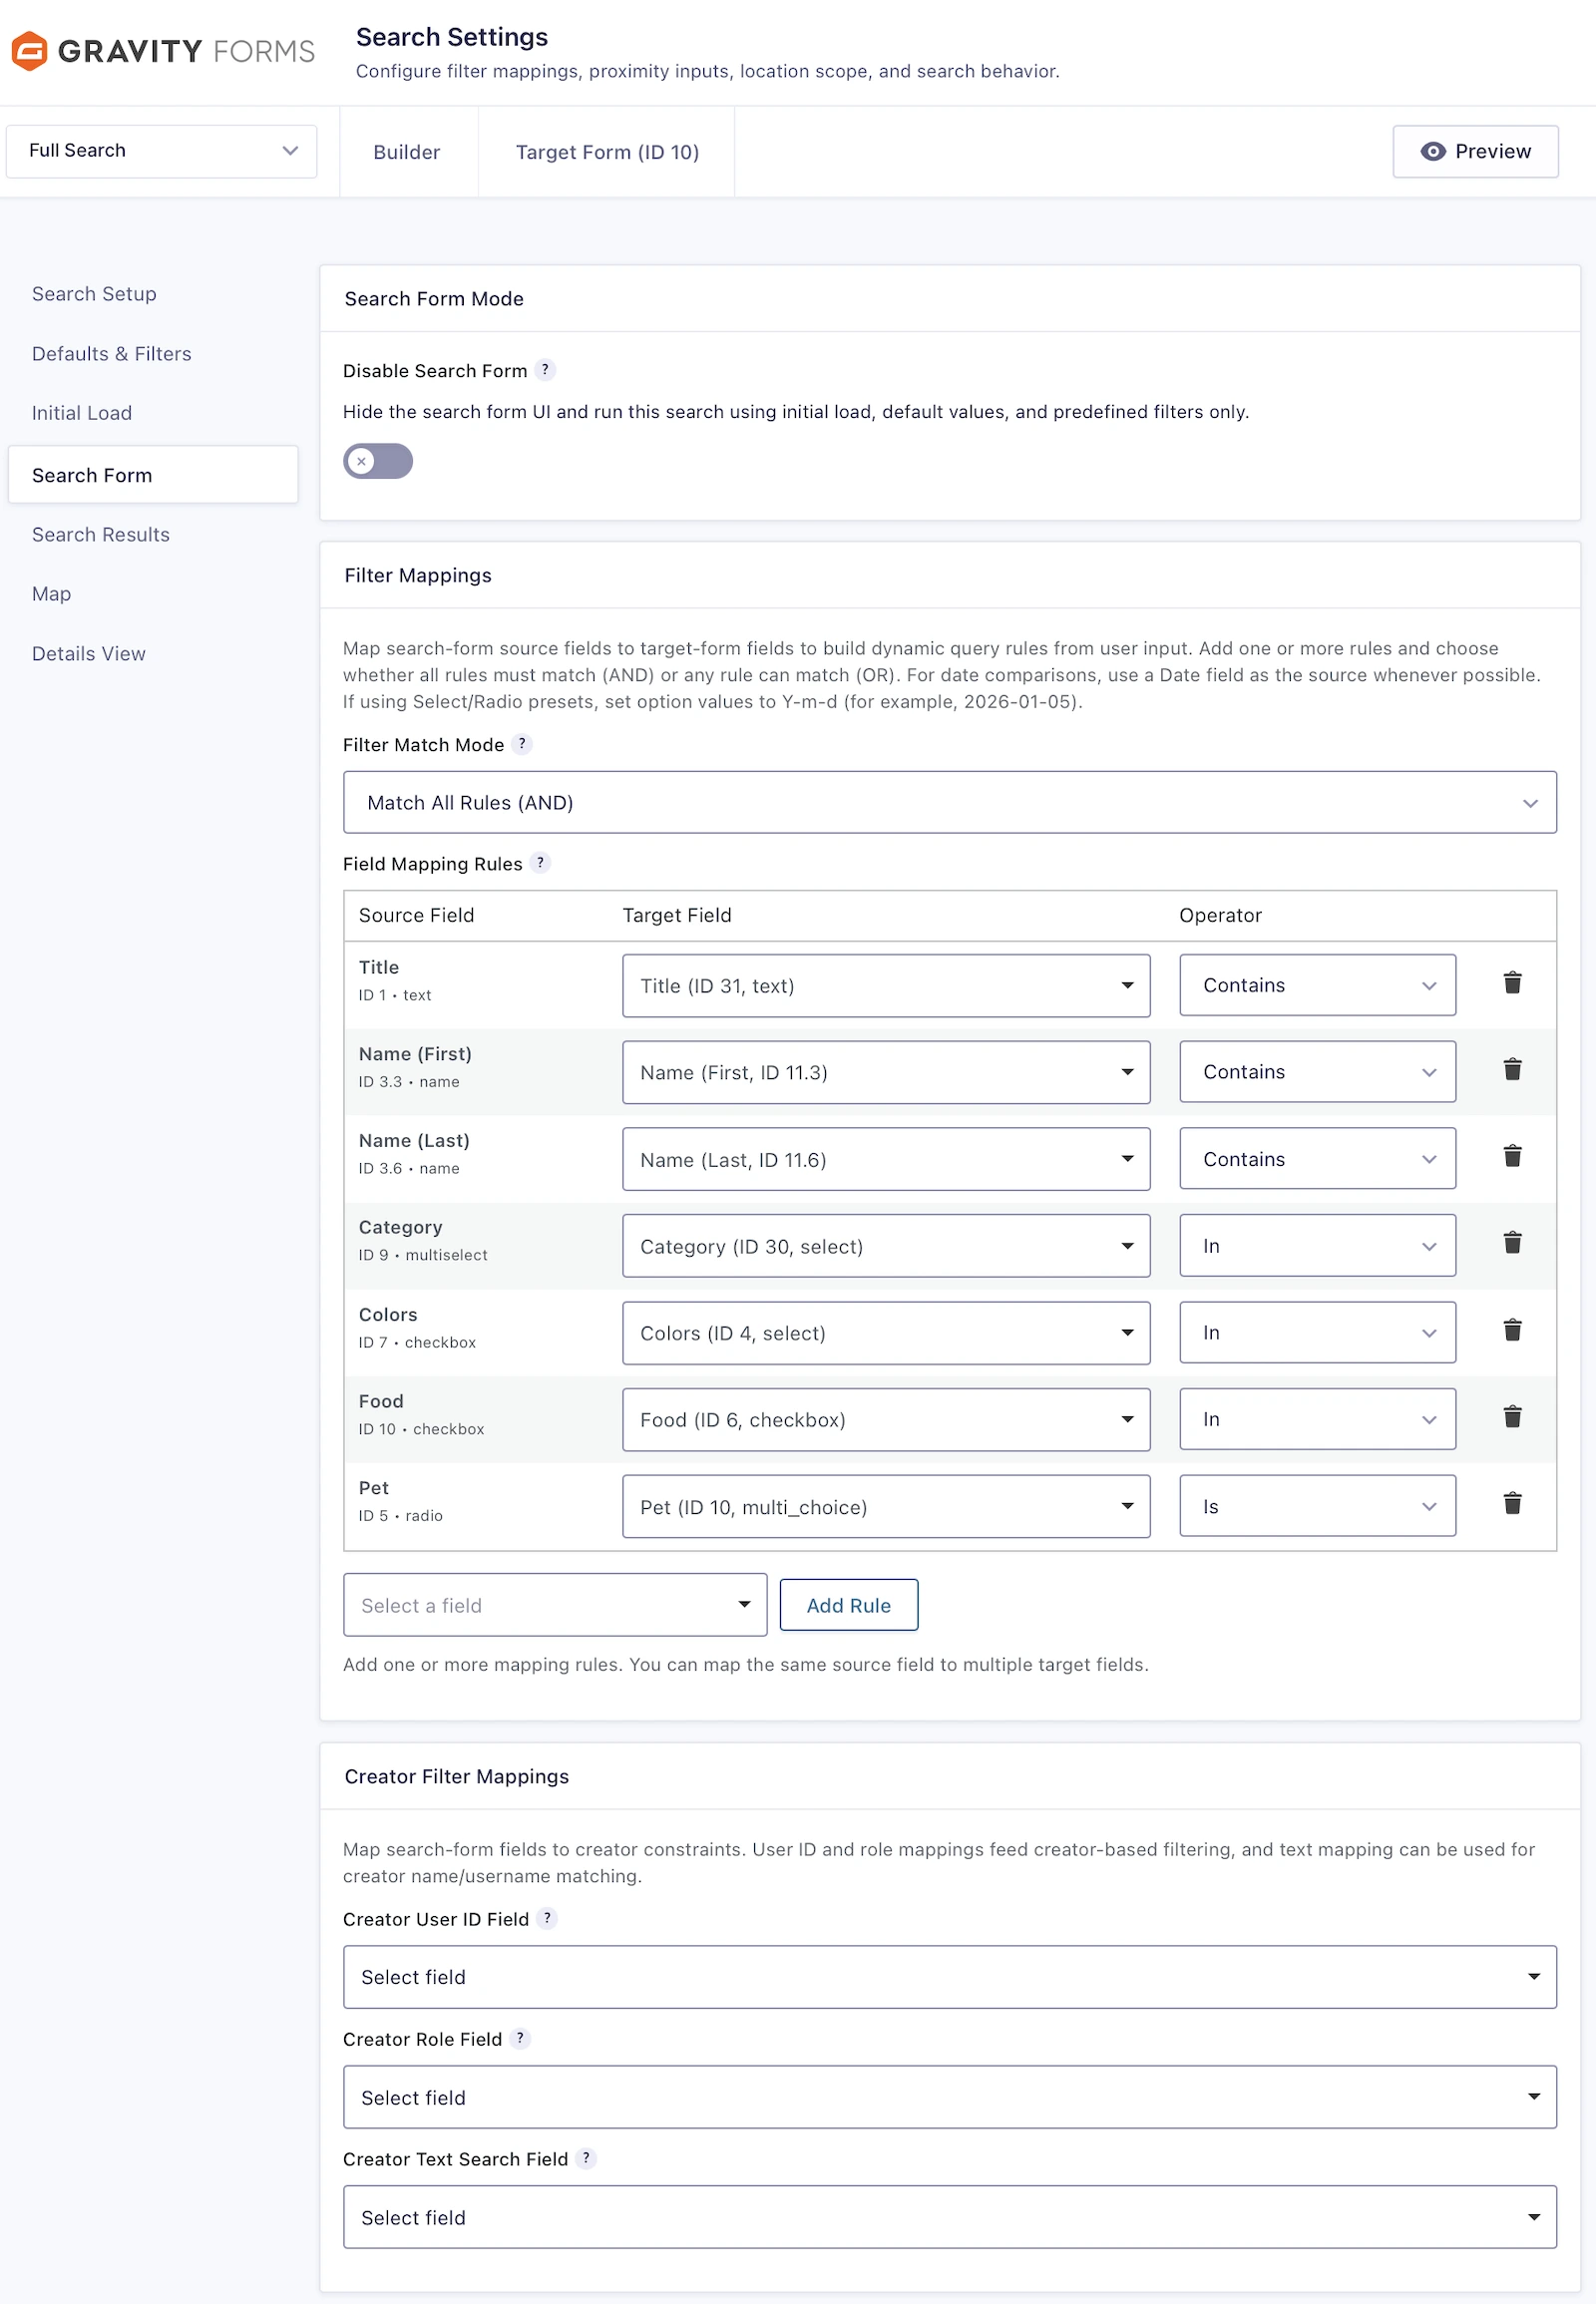
After adding fields, open the Search Form settings tab and map each visitor field to the intended
Target Form field or supported Search role. A field being present in the builder does not create a filter until it is
configured in Search Settings.
An empty Search Form Builder is valid. For an automatic directory, enable Initial Load and disable the Search Form in
settings instead of adding visitor controls.
Configuring Search Settings
Search Settings contains seven normal Gravity Forms settings pages:
- Search Setup: Target Form, Details routing, and Location Data Scope.
- Defaults & Filters: Default sort, results per page, proximity values, and fixed filters.
- Initial Load: Whether and how results load before a visitor searches.
- Search Form: Visitor field mappings, proximity roles, and submission behavior.
- Results: Templates, output, pagination, sorting, and per-page choices.
- Map: Placement, map behavior, markers, and information windows.
- Details Display: Optional Structured Fields, Custom HTML, or Page Content output.
Use the top or bottom Save Settings button before changing tabs. Each tab saves only its own controls
while preserving the settings on the other tabs. Cross-tab dependencies use the saved value, so save the controlling
tab before opening a dependent one.
New Searches use Classic results, automatic submission when controls change, newest entries first, 20 results per
page, and Initial Load off. Review those defaults for the experience you are building.
Checking Search Readiness
Review Search Readiness at the top of the settings page after saving. Expand the panel and follow any
action link to the relevant configuration. A ready status confirms that the saved setup is usable; warnings identify
configured features or references that need attention; a needs-setup status identifies a missing core requirement.
Readiness does not scan the Target Form's entries or location records and does not replace a frontend preview. An
inactive or trashed Search is unavailable publicly even if the rest of its configuration is ready.
Displaying the Search
Add the full shortcode to a WordPress page, replacing 123 with the Search ID:
[gfgeo_search id="123"] Use the full shortcode for the default layout and for a directory without visitor controls. Split form, results, and
map shortcodes are also available, but each component must appear only once and use the same Search ID. Do not repeat
the same Search as multiple independent instances on one page.
Testing Your Search
Update the WordPress page, preview it, and test every enabled feature:
- Initial results and any predefined filters.
- Visitor fields and their Target Form mappings.
- Sorting, results-per-page choices, and pagination.
- Proximity input, radius behavior, distances, and stored entry locations.
- Results and map markers.
- Details links and individual entry output.
- The intended layout at desktop and mobile sizes.
If the Search Form is disabled, confirm that Initial Load is enabled and that the full Search shortcode initializes and
displays the expected entries without visitor input. Return to Search Readiness if a configured feature does not work.
