
Installation and License Activation Guide
Last modified: September 11, 2026
Introduction
This guide explains how to install Gravity Geolocation and activate its license for use with Gravity Forms.
Note: A valid, active license unlocks the plugin settings and provides updates and support. An expired license allows the installed plugin to continue running, but it does not provide updates or support.
Installing Gravity Geolocation
- Download the plugin ZIP from the Downloads area of your account.
- In WordPress, go to Plugins > Add New Plugin.
- Select Upload Plugin, choose the ZIP file, and select Install Now.
- When installation finishes, select Activate Plugin.
- Confirm that Gravity Forms is installed and active.
Activating Your Gravity Geolocation License Key
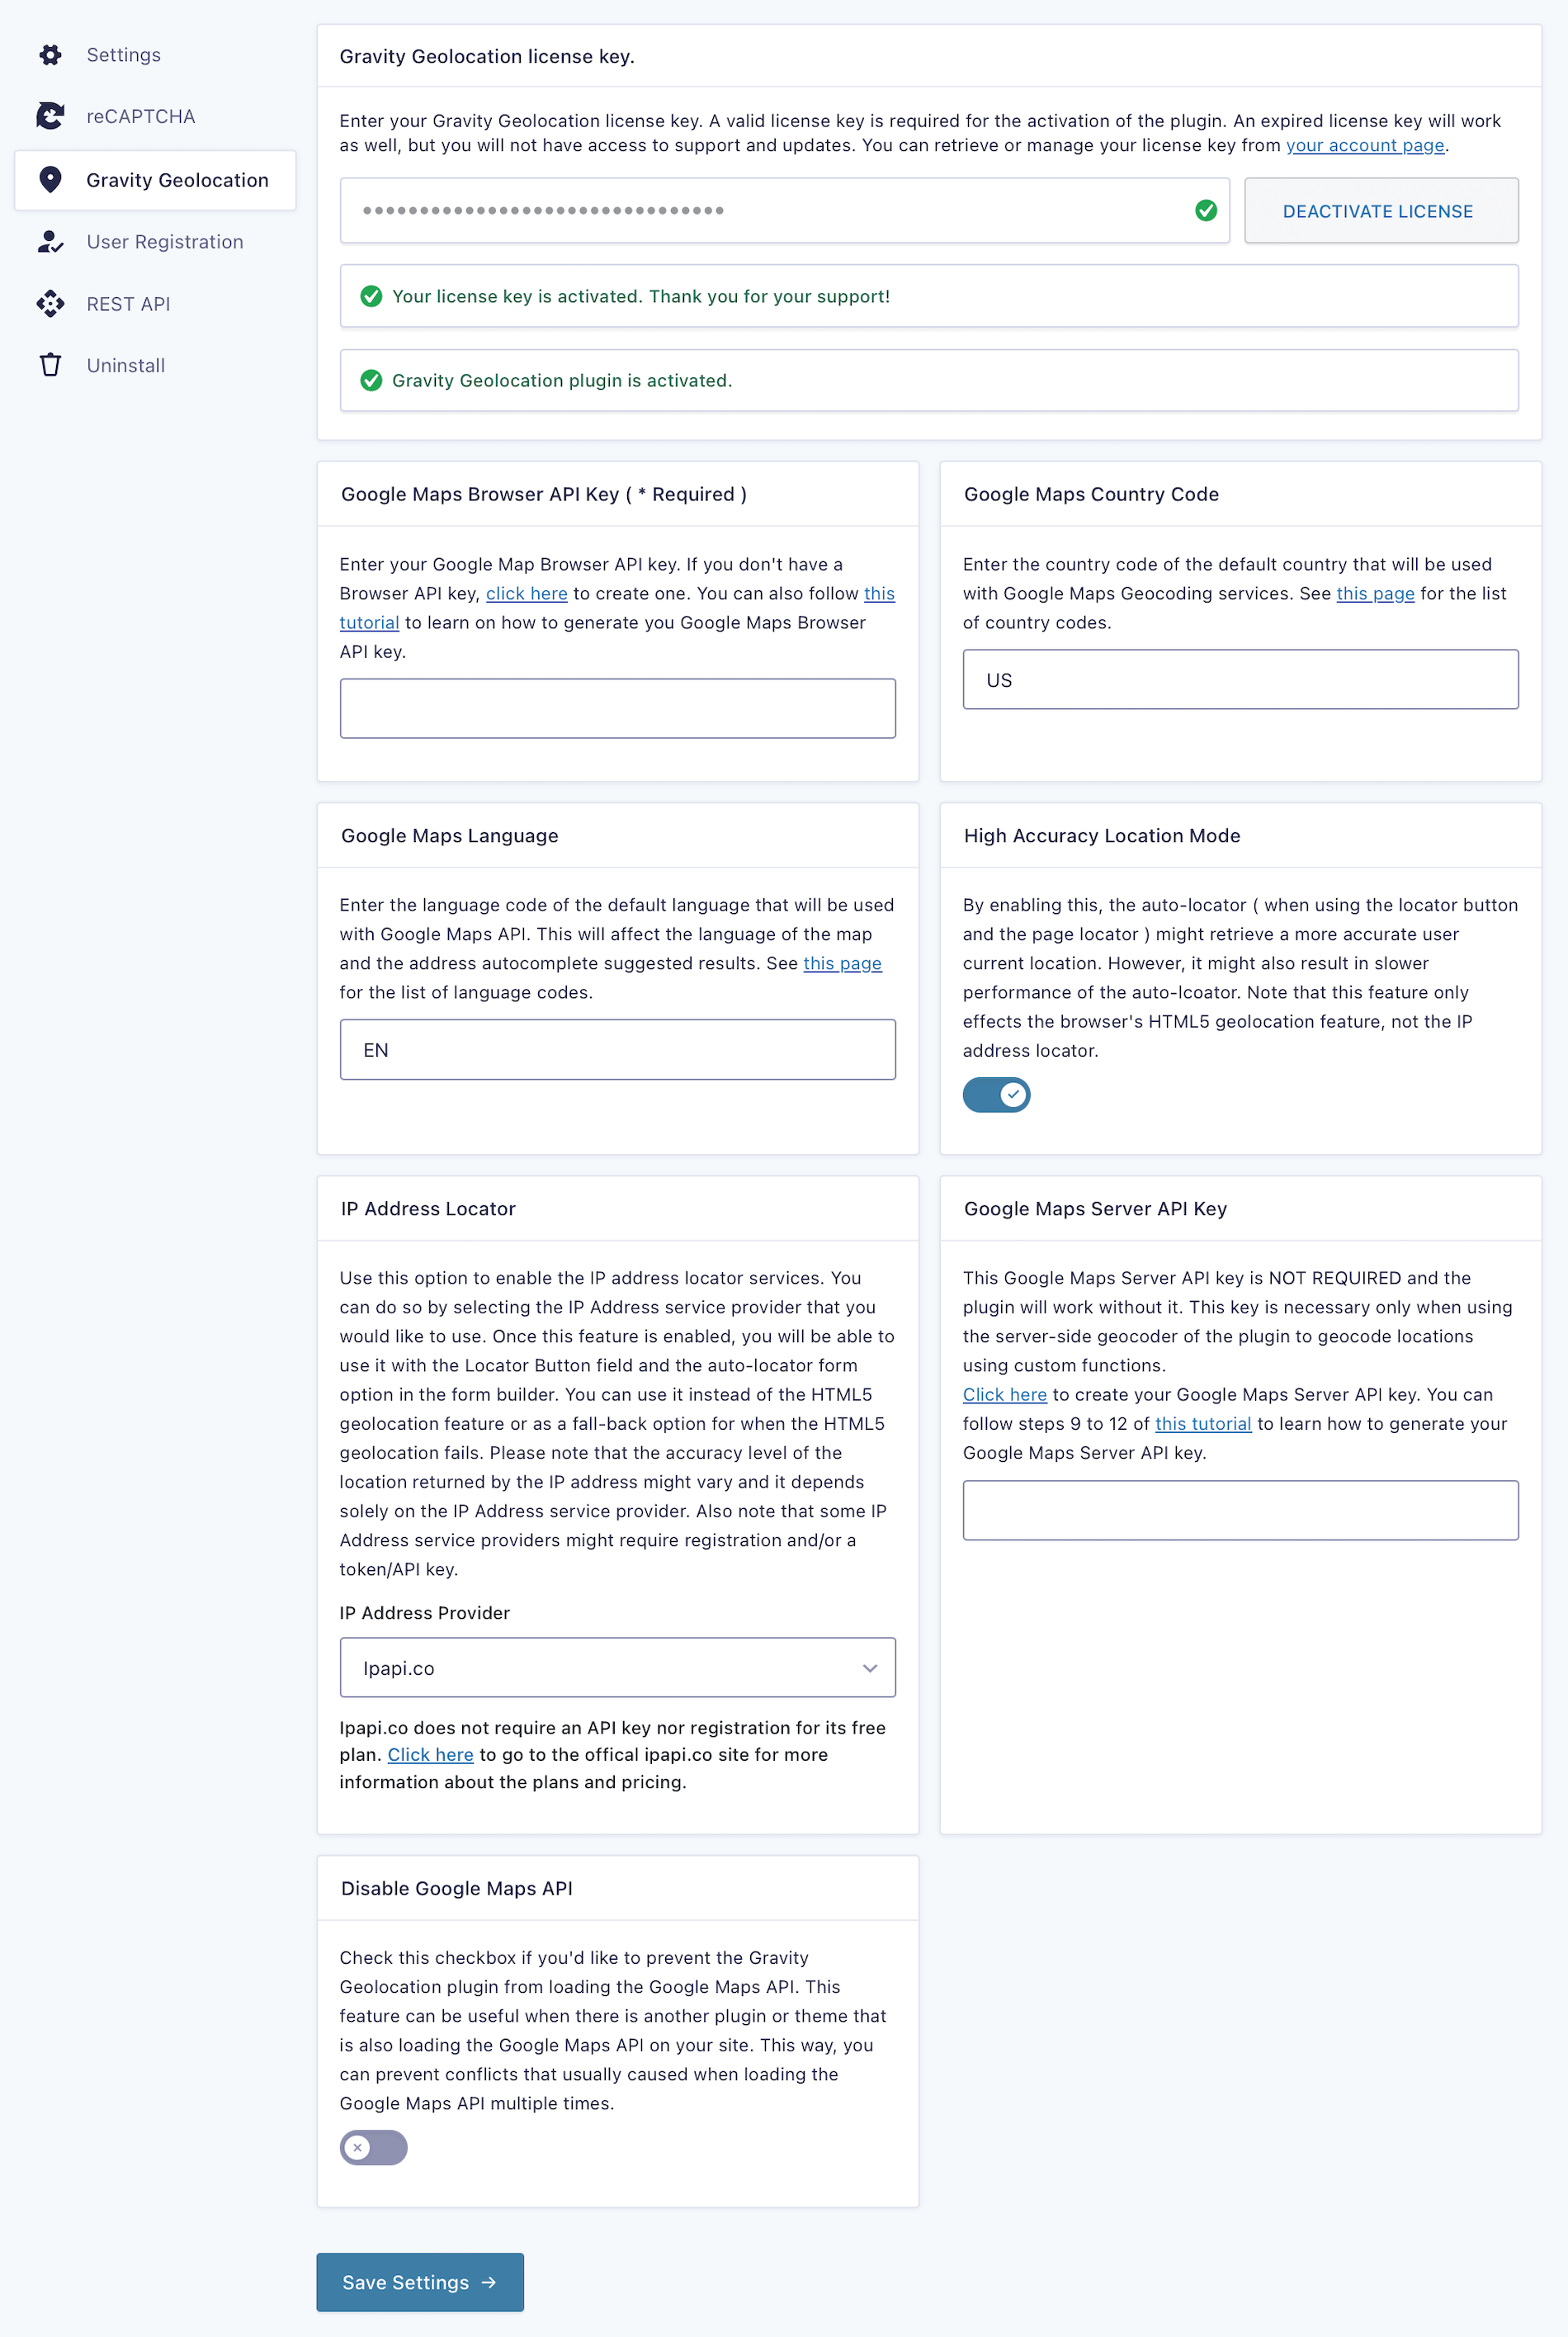
- Go to Forms > Settings > Gravity Geolocation.
- Copy your license key from the License Keys area of your account.
- Paste the key into License Key and select Activate License.
- Confirm that the license status changes to active.
Understanding License Statuses
Next Steps
Continue to Setting Up Gravity Geolocation to add the required Google Maps API keys and configure the remaining plugin settings.